October 06, 2026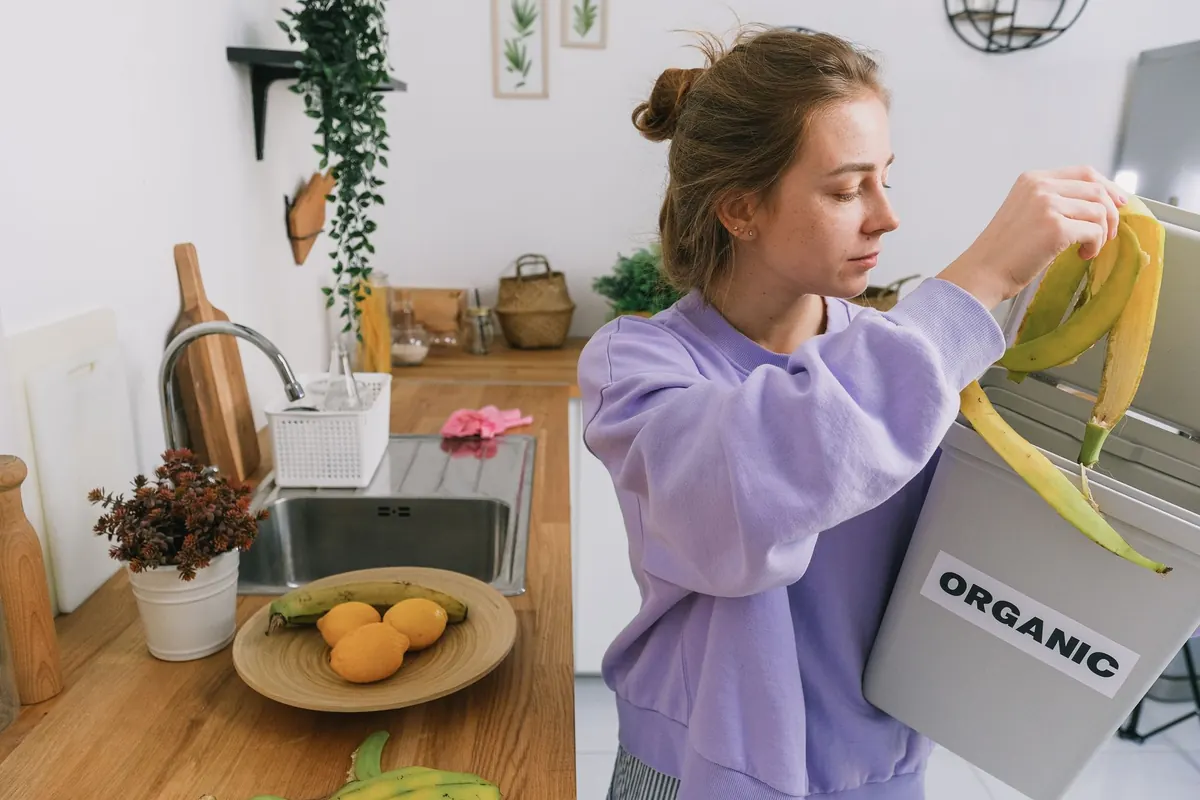
Composting has a reputation for being fussy. You picture a slimy bin, a cloud of fruit flies, a neighbor politely complaining about the smell. The truth is simpler. Composting is rot, managed on purpose. And once you understand the one thing that matters most — the balance between greens and browns — it becomes one of the easiest, cheapest habits in a garden.
If you can keep a kitchen scrap bucket and a pile of dry leaves, you already have everything you need to start.
What Greens and Browns Actually Mean
Every material you add to a compost pile falls into one of two groups, based on chemistry rather than color, though the names usually match.
Greens are fresh, wet, and rich in nitrogen. They feed the microbes that break everything down. Browns are dry, dead, and rich in carbon. They give the pile structure and keep it from turning into a soggy mat.
Stack up too many greens and you get a sour, slimy pile. Too many browns and nothing much happens for months. The trick is keeping them in roughly the right proportion, which is easier than it sounds once you know what to look for.
Typical greens
- Vegetable and fruit scraps
- Coffee grounds and tea leaves
- Fresh grass clippings
- Plant trimmings and spent annuals
- Eggshells (technically neutral, but they work fine in the green layer)
Typical browns
- Dry autumn leaves
- Straw and hay
- Shredded plain cardboard and newspaper
- Wood chips and small twigs
- Sawdust from untreated wood
Finding Browns When You Have No Leaves
Most beginners run short on browns, not greens. In summer, when leaves are scarce, this stops people before they start. Don't let it. Browns are hiding in plain sight.
Shredded cardboard from delivery boxes works well — remove any tape and glossy labels first. Newspapers are fine in modest amounts. Paper towel tubes, egg cartons, and plain brown paper bags all break down. If you keep a small bin of shredded cardboard next to your compost, you'll always have something dry to toss in when the pile looks wet.
Keep a stash of browns within arm's reach. The moment a pile gets smelly, you'll want to fix it immediately, not hunt for materials.
Building the Pile: A Simple Method
- Pick a level spot that gets some sun. A pile that stays warm composts faster.
- Loosen the soil underneath so worms and microbes can move in from below.
- Start with a layer of coarse browns — twigs or straw — about four inches deep for drainage and airflow.
- Add kitchen scraps, then cover them with an equal or larger layer of browns. This keeps smells down and deters pests.
- Repeat: greens, then browns, until the pile is about three feet tall and three feet wide. Smaller piles struggle to hold heat.
- Water lightly as you build. Aim for the moisture of a wrung-out sponge.
Burying food scraps inside the pile rather than dumping them on top makes a real difference. It's the single easiest way to avoid flies and odors.
The Right Ratio, and How to Feel It Out
A common starting point is two to three parts browns to one part greens by volume. You don't need to measure. You need to observe.
If the pile is slimy, smells sour, or looks like wet mush, add browns and turn it. If it's dry and nothing seems to be breaking down, add greens and a splash of water. If it's warm in the middle after a few days, you're doing it right. A well-balanced pile heats up on its own — sometimes noticeably, even on a cool day.
A quick troubleshooting list
- Slimy and smelly: too many greens. Add browns, turn the pile.
- Dry and inert: too many browns or not enough moisture. Add greens and water.
- Fruit flies: scraps are exposed. Bury them deeper.
- Slow breakdown: materials are too large. Chop or shred what you add.
- Attracting animals: keep meat, dairy, and oils out, and cover food scraps every time.
Turning the pile every week or two speeds things up and adds air, which is what the helpful microbes need. If you'd rather not turn it at all, the pile will still break down — just more slowly.
What to Leave Out
Some things don't belong in a home pile. Meat, fish, dairy, and greasy food attract pests and smell bad as they rot. Pet waste can carry pathogens. Diseased plants may spread problems back into your garden beds. Treated wood and glossy printed paper contain chemicals you don't want in your soil.
Small amounts of citrus and onion are fine — the old warning about them killing worms is overstated unless you're adding buckets at a time. Weeds are a judgment call. If they've gone to seed, leave them out, or your compost becomes a weed nursery.
Winter, Bins, and Modest Expectations
Compost piles slow down in cold weather. That's normal. Keep adding material through winter, and the pile will pick up again in spring. If you live somewhere with hard freezes, a pile that's at least three feet across will keep a warm core longer than a small one.
You don't need an expensive bin. A wire cylinder, a ring of pallets, or a simple three-foot heap all work. Enclosed bins look tidier and keep animals out; open piles are easier to turn. Choose based on your space and neighbors, not on what looks best in a catalog.
When It's Finished, and How to Use It
Finished compost is dark, crumbly, and smells like earth — not like garbage. Depending on your climate, materials, and how often you turn it, that takes anywhere from two months to a year. Sift out any large chunks and toss them into the next pile.
Spread it as a thin layer on garden beds, mix it into potting soil, or use it as mulch around perennials. A few handfuls in a planting hole give new transplants a gentle start.
Start Small, Adjust as You Go
Your first pile won't be perfect, and it doesn't need to be. Begin with a spot, a bucket for scraps, and a supply of browns. Pay attention to how the pile looks and smells, and adjust. Add browns when it's wet, greens when it's dry, water when it's dusty, and air when it's compacted.
Within a season you'll stop thinking of scraps and leaves as waste. They become the raw material for the best soil amendment you can make, and you'll have made it yourself.
Photo: SHVETS production / Pexels